 I never knew the joy of home ownership since most of my life I grew up in a rented townhouse/apartment. So most of the major repairs needed over the years were done by the owners of the property. This left me with little to no experience in home repair (no fault to my parents). Needless to say remodels and fixes were a surprise to me as I found the cost to hire greater than I would like to spend. You get it, go on vacation as opposed to fix something. Sigh*. So recently my wife and I decided to do a small update to the kitchen.
Our project was to fix/change the kitchen wall from a wood back splash and paint to a tiled wall. Yes, you read it right, WOOD BACK SPLASH! Nightmarish sound track in the background. The contractor insisted to my mother in law who previously owned the house that a wood back splash would be completely easy and acceptable for the kitchen. I can only see this being a money saving suggestion on his part. Needless to say the wood over time warped and had a little mold growing behind it.
So we set out to our local home repair store to find products for replacing our back splash. We had some helpful tradesmen at the store that gave us a demo on how to do tiling. He had over a decade of tiling experience. As we got a demo he introduced us to this product SimpleMat which I think only Home Depot carries but could be wrong. You also can find Bondera (something similar) at Lowes or you can buy Bondera from Amazon. Basically, its a strong adhesive that you use in place of your mortar and without the necessity of backer board. Not sure this is true so don’t take my word for it. In the end I did use backer board due to damage I caused preparing for my new back splash.
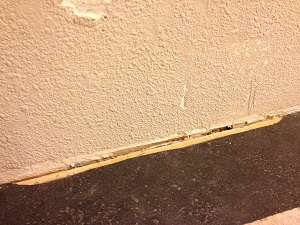 At home when I was demoing the wood back splash there was a part where the adhesive for the back splash tore up a half inch part our laminate counter. We were concerned that a few hundred dollar project was now turning into a few thousand dollar or more kitchen remodel. After visiting several of our local tile and counter store we decided that a new counter would have to wait. So back to the store in which I found I could cover our small tear with a quarter inch backer board and save myself the big kitchen remodel another day.
If you are looking to tile a back splash, here is what I did.
-
Watch Youtube videos and read blogs. Yes since I am not the most informed person when it comes to home repair and improvement I watched and re-watched and read and reread videos and blogs. Being informed is worth its weight in gold.
-
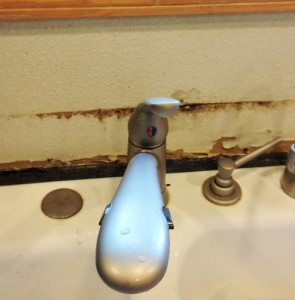 Demo and cleaned wall to remove a small batch of mold. If you find mold it is best to scrub it clean and use a Mold Armor mold remover/cleaner. You don’t want spores and the like spreading.
 -
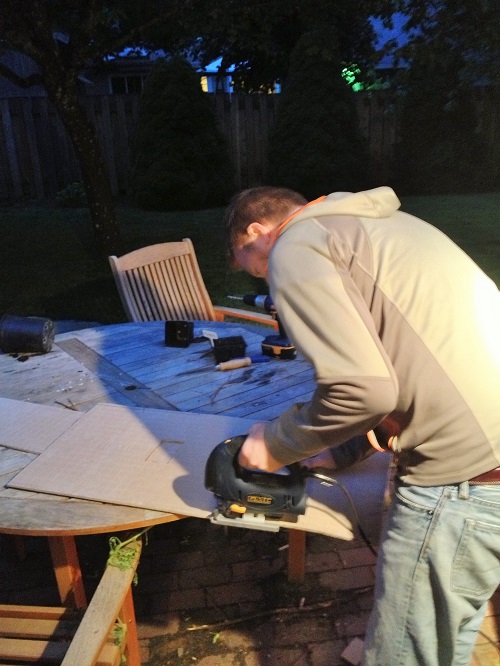
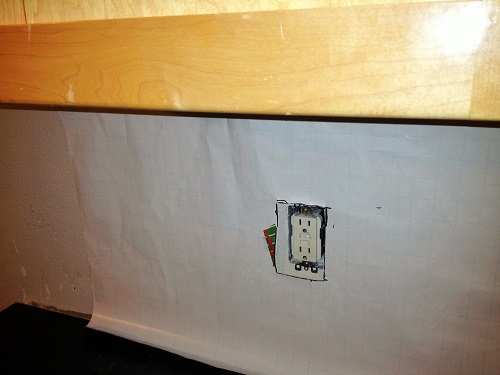
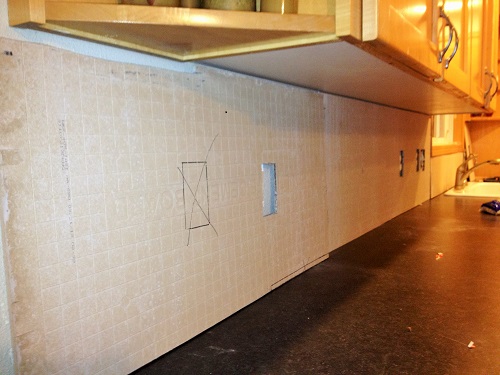
 Cut backer board to the length of your kitchen wall with holes for out lets. Cut holes for you outles big enough to fit your electric cords through but not to big since you will need outlets and switches to fit against the wall and a place for your tiles to rest. A tape measure should be sufficient for measurements. I used some wrapping paper that neither of us particularly liked. Because I am a visual person this helped me to cut a mostly accurate layout that we needed.
 -
 Attach backer board to the wall using backer board screws. If you are looking to see where studs are you can get a good idea based on your cabinets and where they are anchored to the wall.
 -
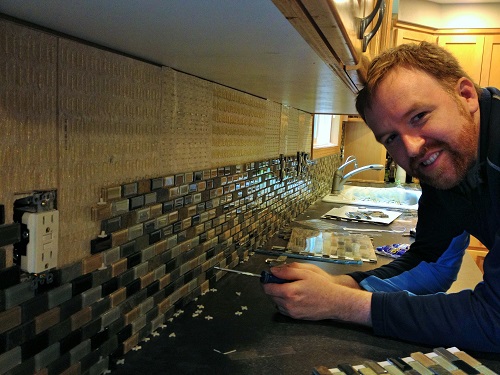
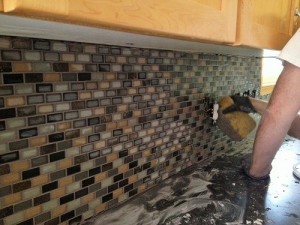
 Use Simple Mat adhesive instead of mortar to adhere tiles to the wall. This was very easy as it was a peel and stick to the wall. 9 months later the back splash is still looking good. So I am happy so far and hopeful that it will continue. You can buy this from Home Depot or something similar like this tile adhesive.
 -
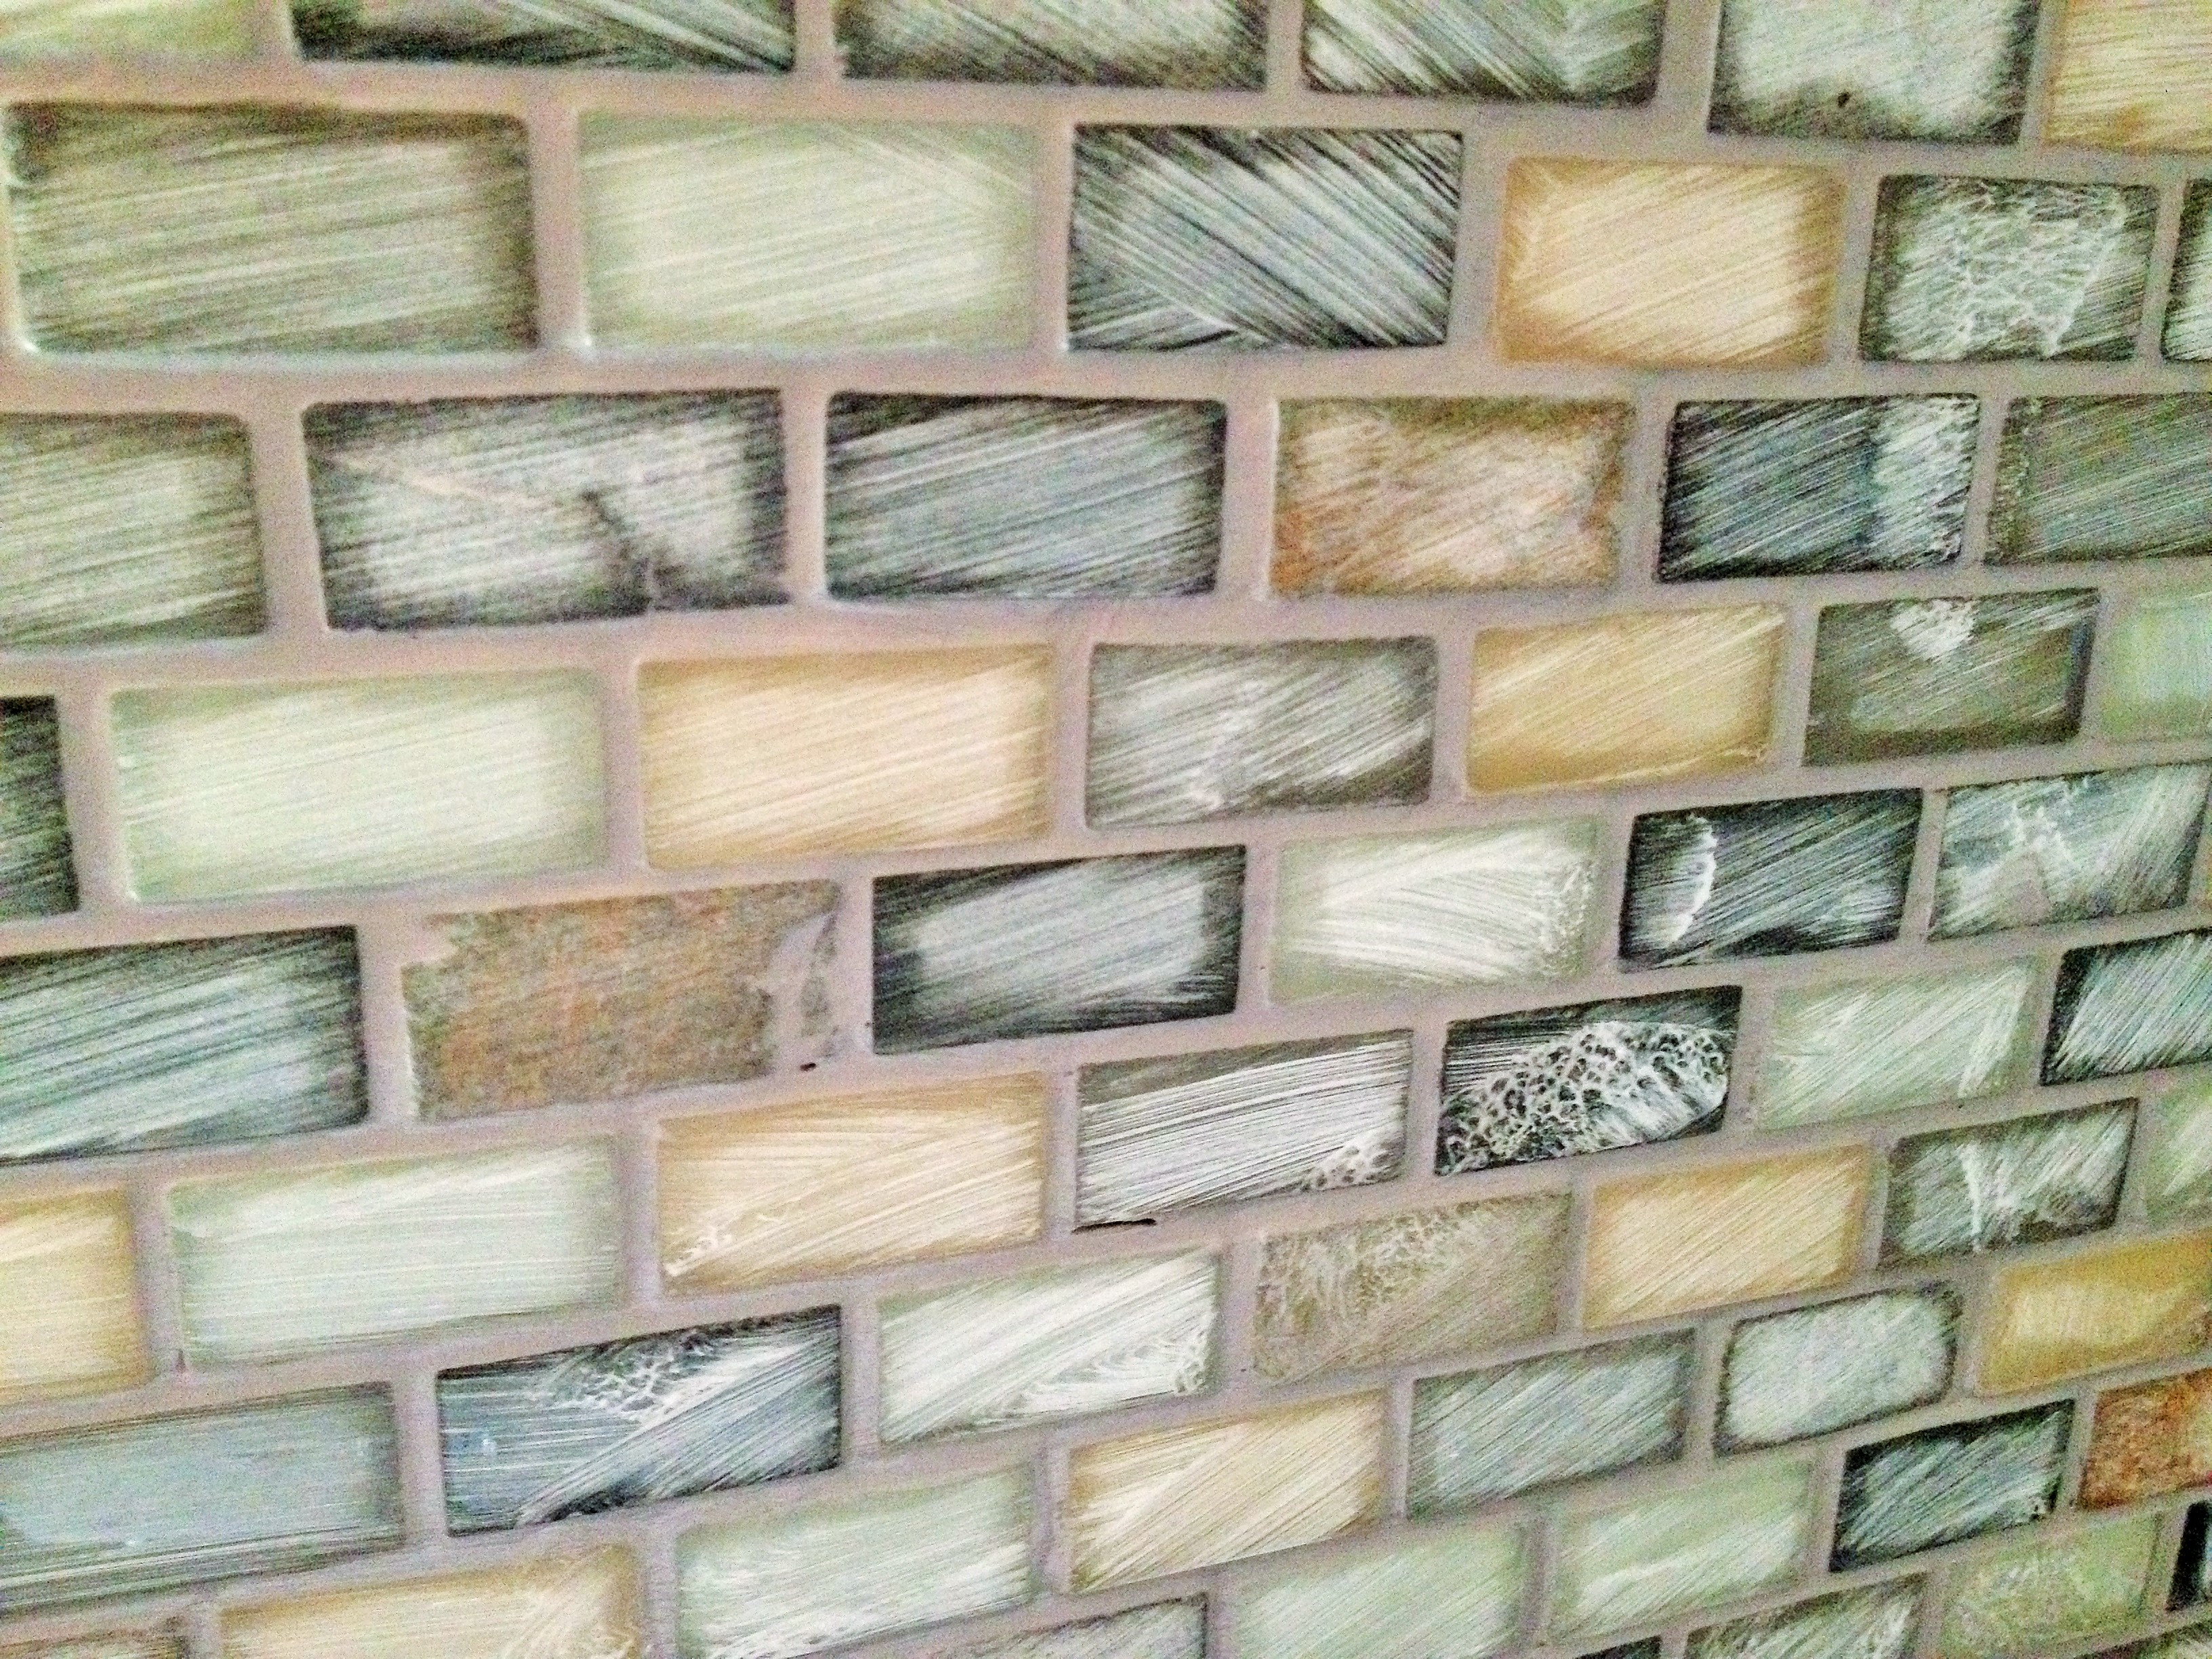
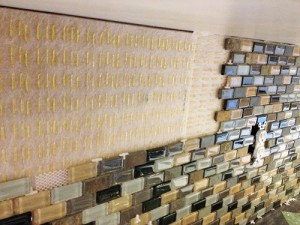 Attach tiles to the adhesive. The only difficult part here is if you have glass tile is cutting it. I bought a glass tile nipper but I found that I had a hard time making the cleanest cuts. If I were to go back and do this project again I would have spent the extra $20 or whatever the price difference is for a ceramic tile cutter
 -
Use a premixed grout (Simple Grout). Every step takes time and so this seemed like the quickest method. I used Delorian Gray color since it was neutral color to our tile colors. If you buy grout that you need to mix follow the directions and it shouldn’t be difficult. Spread the grout across your tile in different directions. Side to side and up and down. You will need a grout float to do this. You really don’t need a nice one unless you plan on doing this frequently.
-
 Use a slightly damp sponge to remove access grout. You don’t need to worry about removing all of this. As it dries you’ll be able to remove excessive grout with some cheese cloth.
 -
 Remove grout haze from glass tile. After 2 hours of applying the grout wipe the tiles with cheese cloth. The grout should be stiff enough that you wont need to worry about damaging it but still remove the haze on your tiles. The longer you wait the hard this will be which you don’t want. It may even be permanent from what I understand so don’t forget. If you do there are tile cleaners that remove grout from your tile but its better to avoid altogether.
 -
Apply caulking around the edges of the back splash. The reason for this is that as temperatures fluctuate or your house settles it gives some elasticity between your counter and other parts of your wall. Otherwise your grout would crack over time.
- Apply Grout Sealer. Grout by itself is pores and as water and other things interact it can either stain or breakdown. So you want to apply this according to the directions. Do this a day or two after your application. And do it once a year as it will wear off depending on wear and tear.
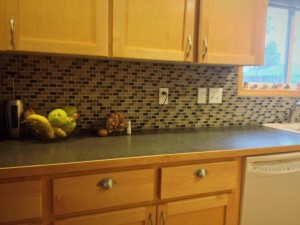 Enjoy you new back splash!


Derek,
Wanted to say great job on the backsplash, looks great! I did have a question for you, what did you think of the Simple Mat? Do it work as advertised?
How is it holding up?
Enjoy,
John
Hi John,
Thanks for the compliment. It seems to work as intended. I believe I’ve had it up for 8-9 months. There isn’t any sign of it coming off the wall which I am happy about. I will have to see in time whether it will last from a longevity perspective.
Derek